Description:
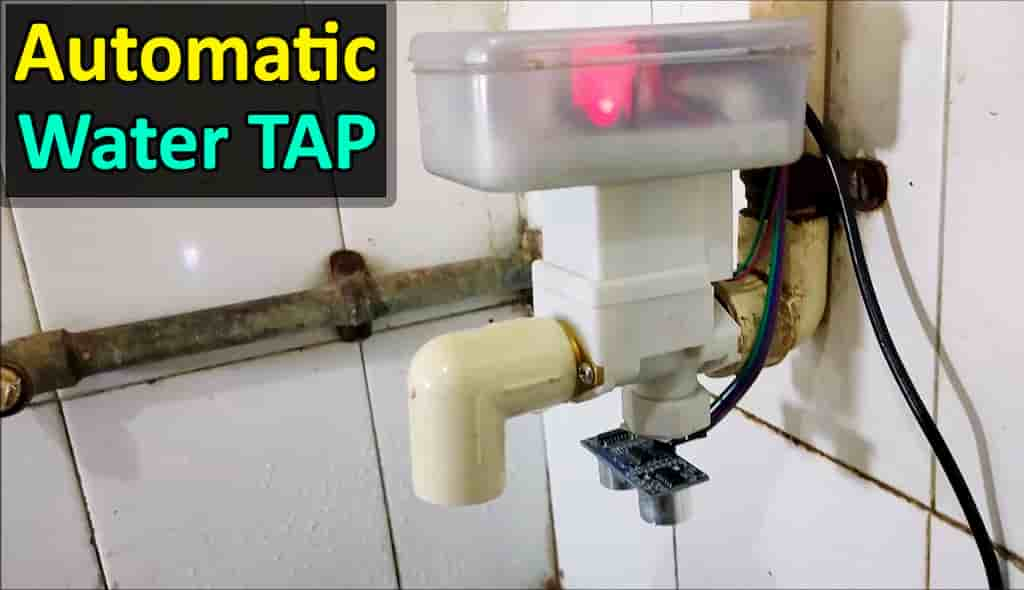
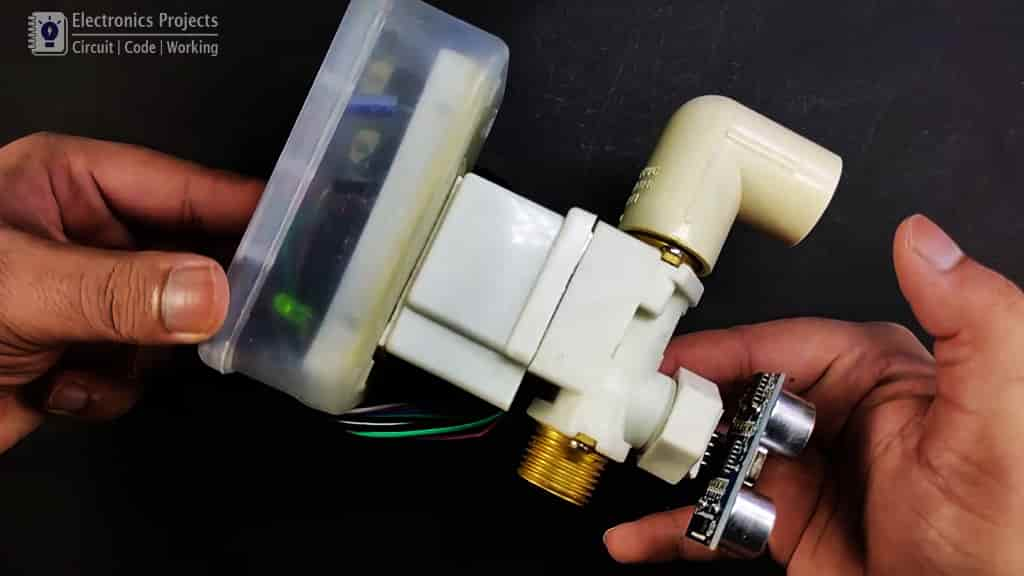
In this arduino-project, I have made an auto stop water tap using Arduino and Ultrasonic sensor. When someone place hand under the water tap sensor the water will start flowing and after removing the hand the water will stop automatically. You can easily make this automatic water tap at home.
Circuit of the Auto Stop Water Tap
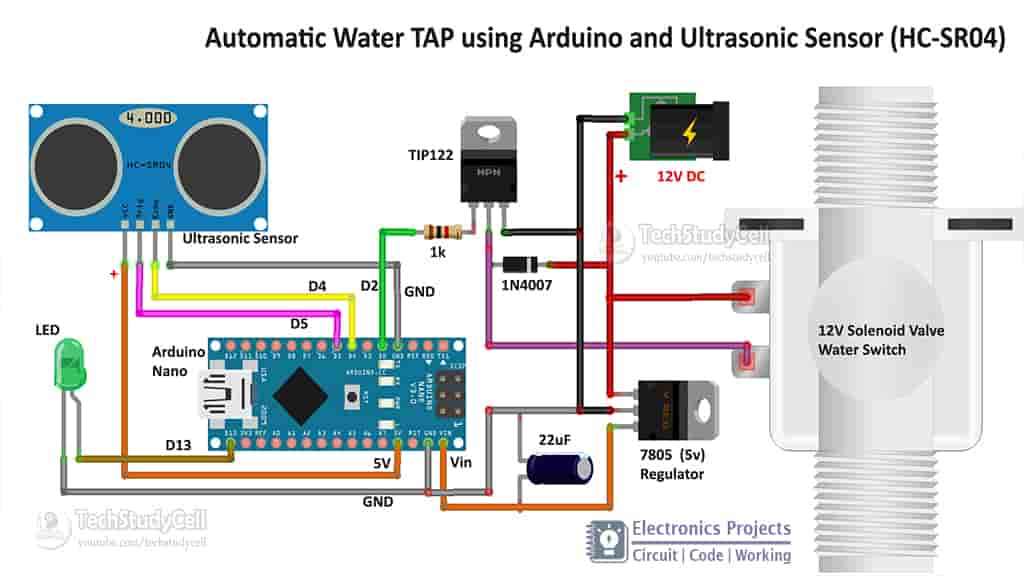
The circuit is very simple. As I have used a 12v solenoid valve so fed 12v DC supply at the input. Then convert 12v to 5v with a 7805 regulator. Here I have used the TIP122 power transistor to control the solenoid valve. For this water tap, if you use a high voltage solenoid valve then I will suggest using a relay module instead of the transistor.
In the tutorial video, I have explained how the automatic water tap circuit works in detail.
Required Components for Automatic Tap
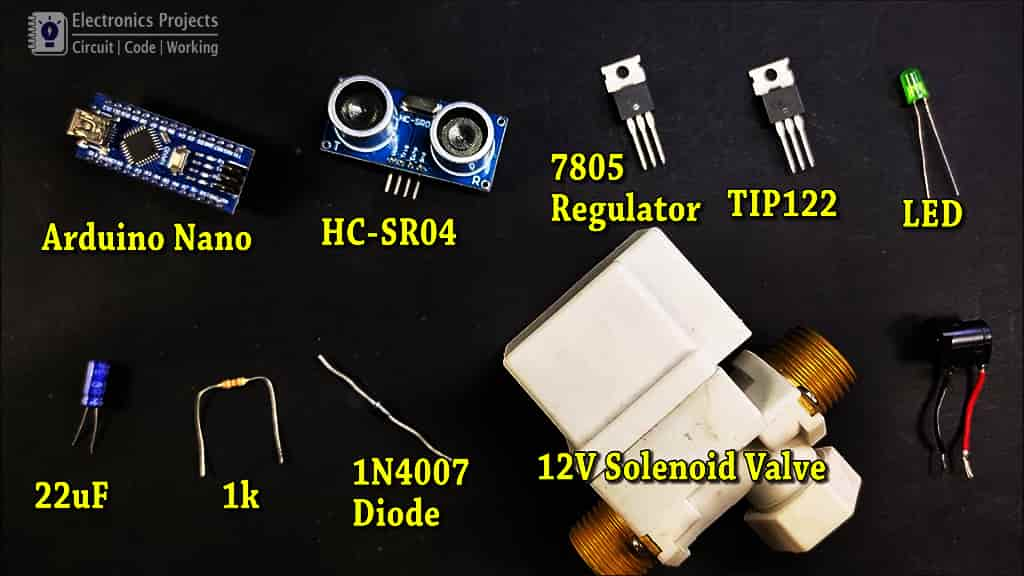
- Arduino Nano or Arduino UNO
- Ultrasonic Sensor HC-SR04
- 12v Solenoid valve
- 7805 5v regulator
- TIP122 NPN power transistor
- 1k resistor
- 1N4007 diode
- green LED
- 22uF capacitor
- 12v DC Adaptor
Arduino Code for Water Tap Sensor
// define pins numbers
const int trigPin = 5;
const int echoPin = 4;
const int greenLedPin = 13;
const int switchPin = 2;

// define Trigger Distance in CM
const int trigDistance = 15; //change this value from 2 to 400

// define variables
long duration;
int distance;

void setup() {
  pinMode(trigPin, OUTPUT); // Sets the trigPin as an Output
  pinMode(echoPin, INPUT); // Sets the echoPin as an Input
  pinMode(switchPin, OUTPUT); // Sets the greenLedPin as an Output
  pinMode(greenLedPin, OUTPUT); // Sets the redLedPin as an Output
  Serial.begin(9600); // Starts the serial communication
}

void loop() {
  digitalWrite(trigPin, LOW); // Clears the trigPin
  delayMicroseconds(2);
  digitalWrite(trigPin, HIGH); // Sets the trigPin on HIGH state for 10 micro seconds
  delayMicroseconds(10);
  digitalWrite(trigPin, LOW);
  duration = pulseIn(echoPin, HIGH); // Reads the echoPin, returns the sound wave travel time in microseconds
  distance= duration*0.034/2; // Calculating the distance
  Serial.print("Distance: "); // Prints the distance on the Serial Monitor
  Serial.println(distance);

  if (distance < trigDistance){
      digitalWrite(switchPin, HIGH);   // turn the water switch on
      digitalWrite(greenLedPin, HIGH);   // turn the green led on
      Serial.println("TAP open");
      delay(500);
  }
  else{
      digitalWrite(switchPin, LOW);   // turn the water switch OFF
      digitalWrite(greenLedPin, LOW);   // turn the green led OFF
      Serial.println("TAP close");
      delay(500);
  }
}
Tutorial video for Automatic Tap
In the video, I have explained the Arduino code and how the automatic water dispenser circuit works. So after watching the video you can add more features as per your requirement.
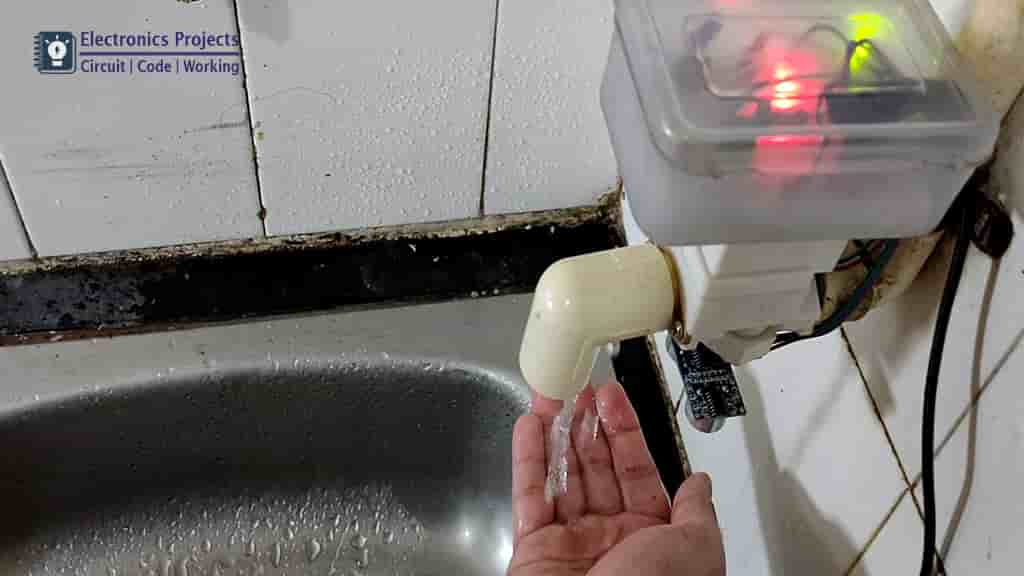
Testing the Auto Stop Water Tap
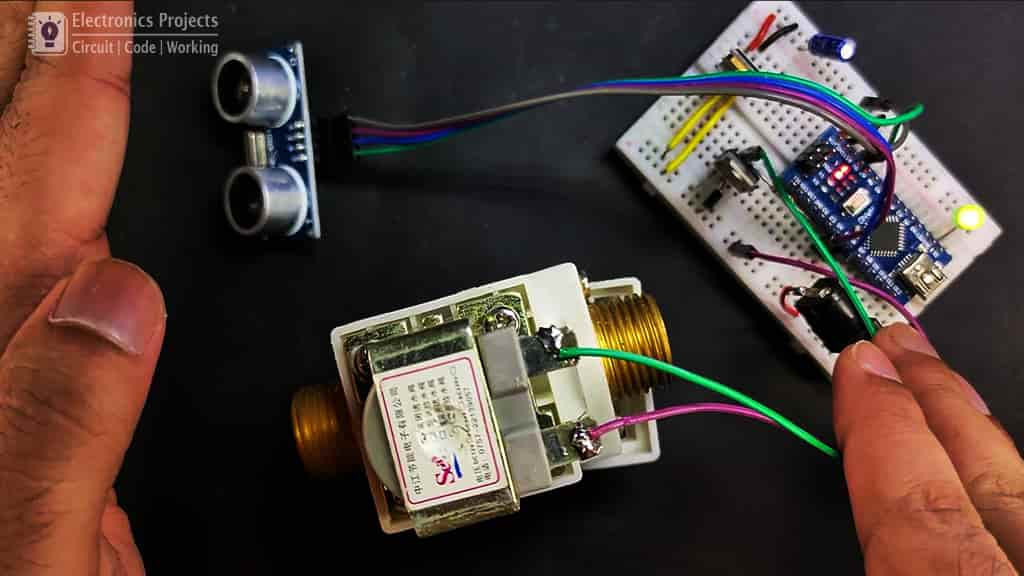
In the Arduino code, I have set the trigger distance to 15cm. So if I place my hand within 15cm from the ultrasonic sensor the water switch will turn on and after removing the hand the water switch should turn off.
To change the trigger distance you just need to modify the Arduino code as shown in the video.
Finally, the Automatic Water Tap is ready
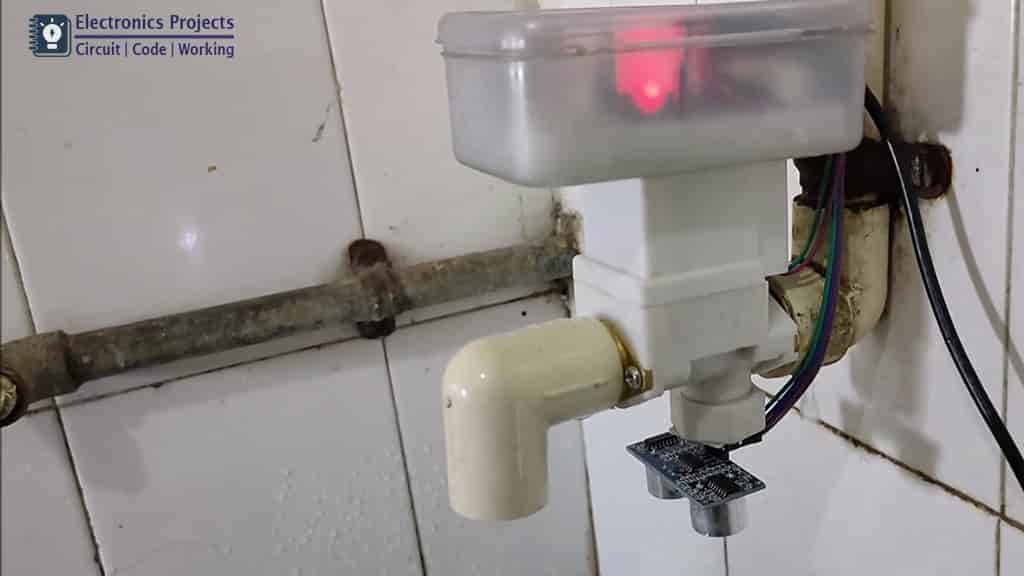
Now with this Auto-stop water tap, we can save a lot of water so this is a very useful Arduino project.
I hope, you like this Automatic Tap Arduino project.
You can also subscribe to our newsletter to receive more such useful electronics projects through email.
Please do share your feedback on this Arduino project. Thank you for your time.
