Description
In this electronics project, I have explained how to make a battery level indicator circuit with LM3915 IC to monitor the voltage level of any batteries.
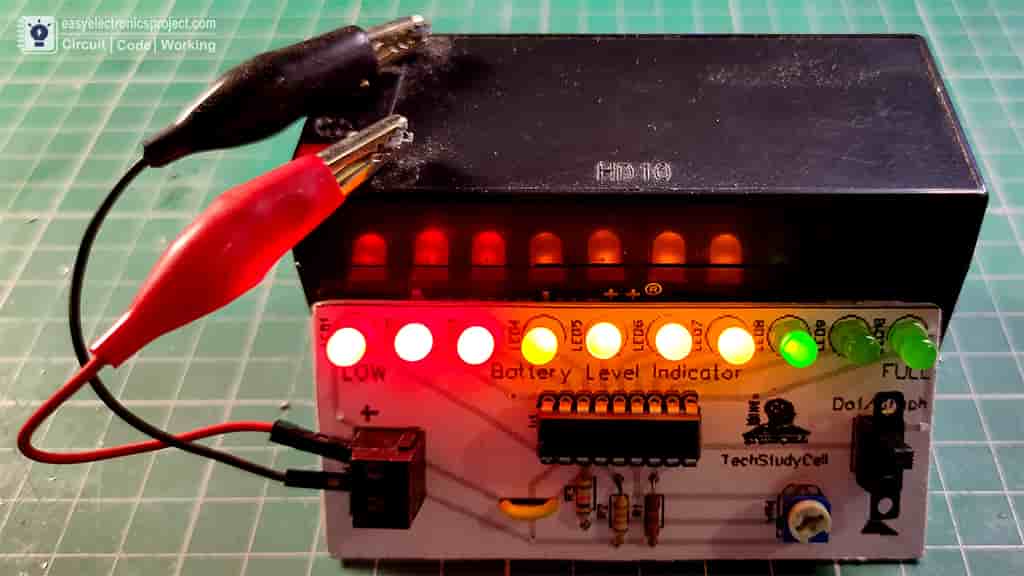
You can adjust the maximum voltage level according to the battery ( 12V or 9V ) by rotating the trimmer.
Circuit of Battery Level Indicator
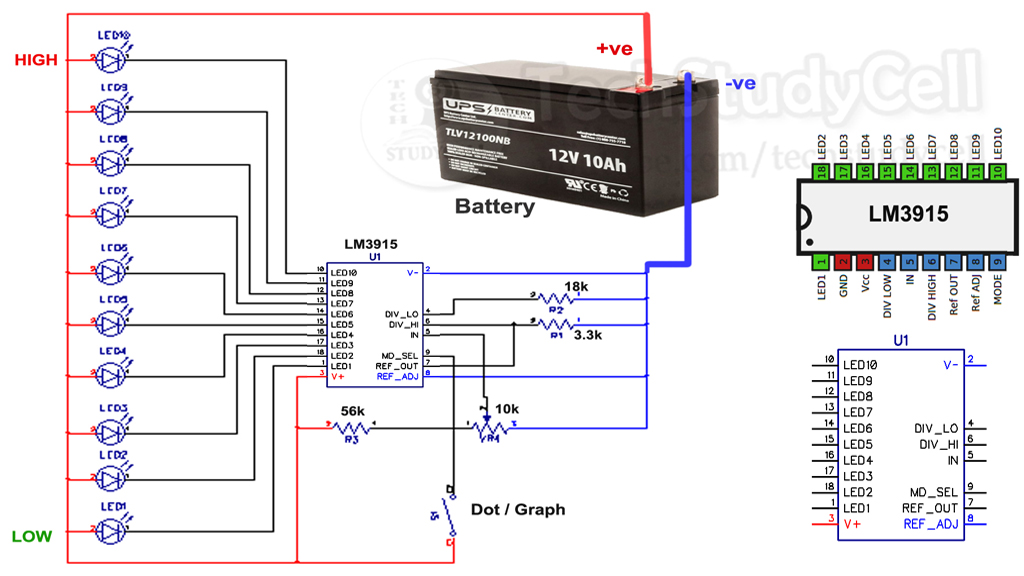
The circuit is very simple, I have use LM3915 IC to show the voltage level of the battery.
Here, LM3915 will control the current through the LED, so I have not used any resistors in series with the LEDs.
PCB Layout for Battery Volt Level Indicator
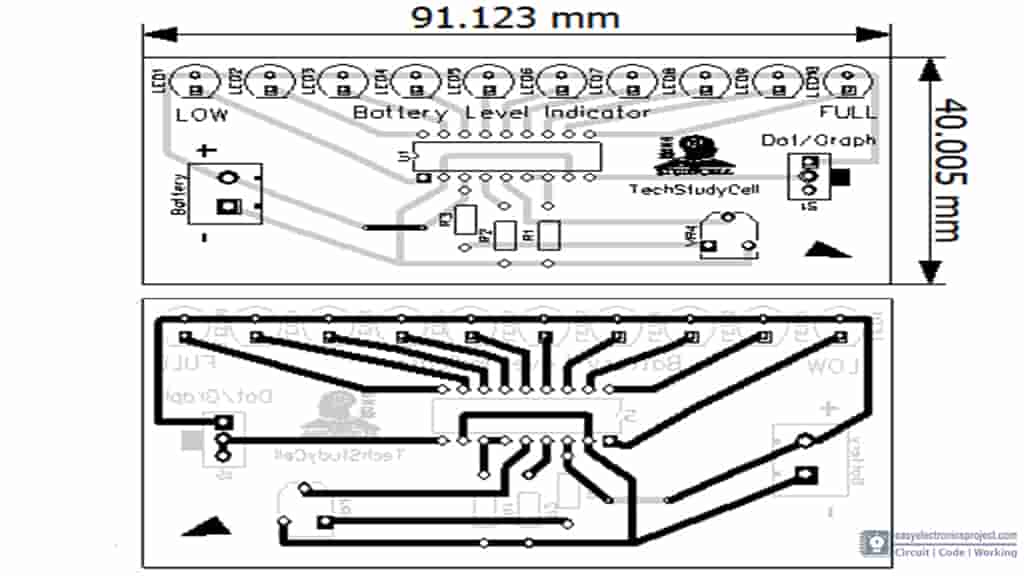
Please download the PCB layout, then print it on the A4 page.
Please check the PCB size while printing, it should be the same as mentioned
Required Components:
- LM3915 IC
- 3.3k 0.25-watt Resistor (R1)
- 18k 0.25-watt Resistor (R2)
- 56k 0.25-watt Resistor (R3)
- 5-mm 1.5V LEDs (10 no)
- Switch (S1)
- 10k Potentiometer (VR4)
- Connectors and IC base
- Zero PCB or cardboard
Tutorial Video on battery volt level indicator
In this tutorial video, I have shown all the steps to make the voltage level indicator circuit on a homemade PCB.
But you can also download the PCB Gerber file for this LM3915 project, and order the custom design PCB from PCBWay.com
About PCBWay and their services
- PCB Prototyping and Manufacturing
PCBWay not only produce FR-4 and Aluminum boards, but also advanced PCB like Rogers, HDI, Flexible and Rigid-Flex boards, with very reasonable price.
For the online instant quote page please visit – pcbway.com/orderonline
Inspect your Gerber file before placing the order – OnlineGerberViewer - PCB assembly
The SMT & THT assembly starts from only $30 with the free stencil and free worldwide shipping.
The components can be sourced and provided by us, or by clients themselves
Rough quote online – pcbway.com/pcb-assembly
With PCBWay you can also get the following benefits
- No Minimum Requirement
- Fair Pricing
- Free DFM
- On-time Shipping
- Return and Refund
- 24 hours Customer Service
For more details please visit Why PCBway.
You can also explore different PCB projects from their Open-source community pcbway.com/project/.
Steps to order PCB from PCBWay
To order the PCB first visit PCBWay.com.

Then enter the following details:
- PCB Size (Length & Width) in mm & PCB quantity
- Select masking color for the PCB
- Select country and shipping method
- Click on the “Save to Cart” button
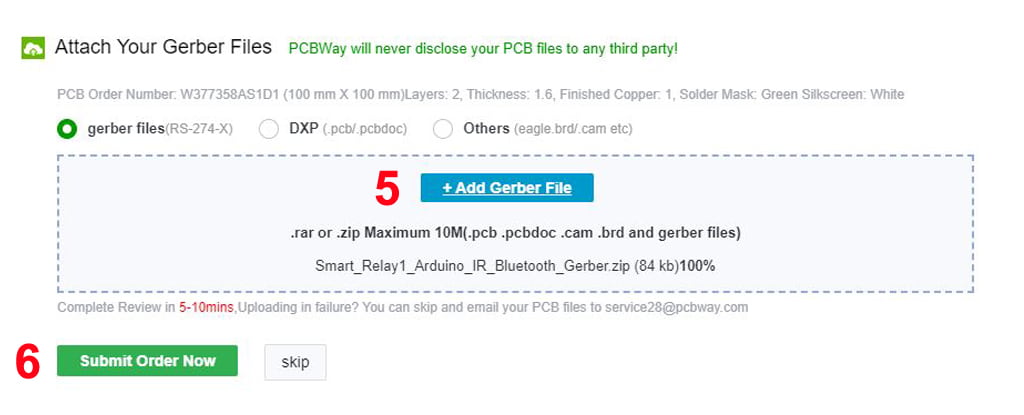
Now click on the “Add Gerber Files” to upload the PCB Gerber file.
Then click on the “Submit Order Now” to place the order.
After that, they will review the Gerber file and accordingly confirm the order.
I have used their services for my different electronics projects, I always received the PCB on time and the quality is very good in this price range.
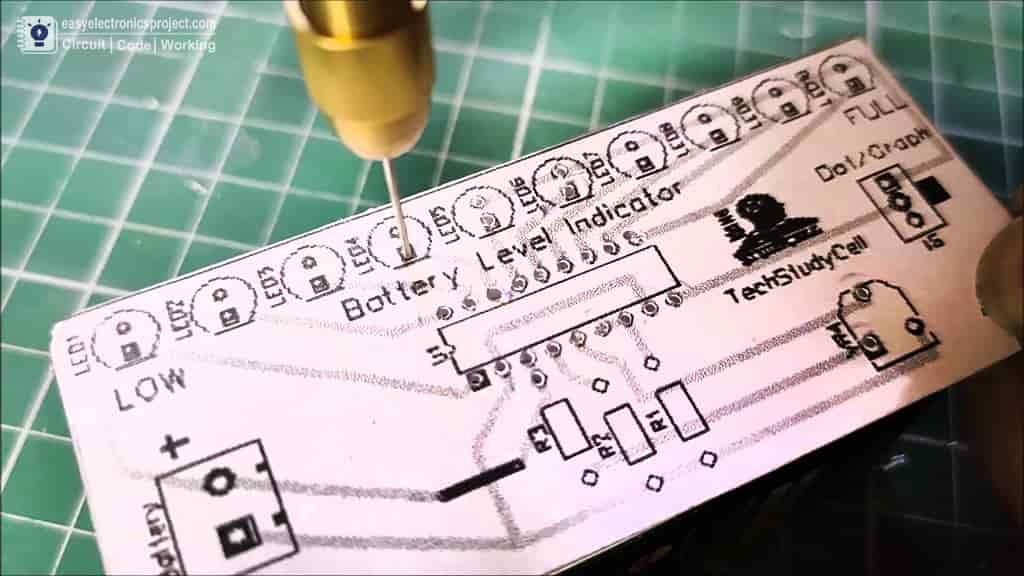
How to make Battery Level Indicator PCB
Steps for making the volt level indicator circuit on PCB:
- Print the PCB Layout and stick it on cardboard or Acrylic sheet
While printing please consider the PCB size mentioned in the PCB layout

- Drill the holes for the components as PCB Layout
- Connect all the components as per the PCB layout
Place all the components on the PCB as shown, then solder all the components as per the circuit.
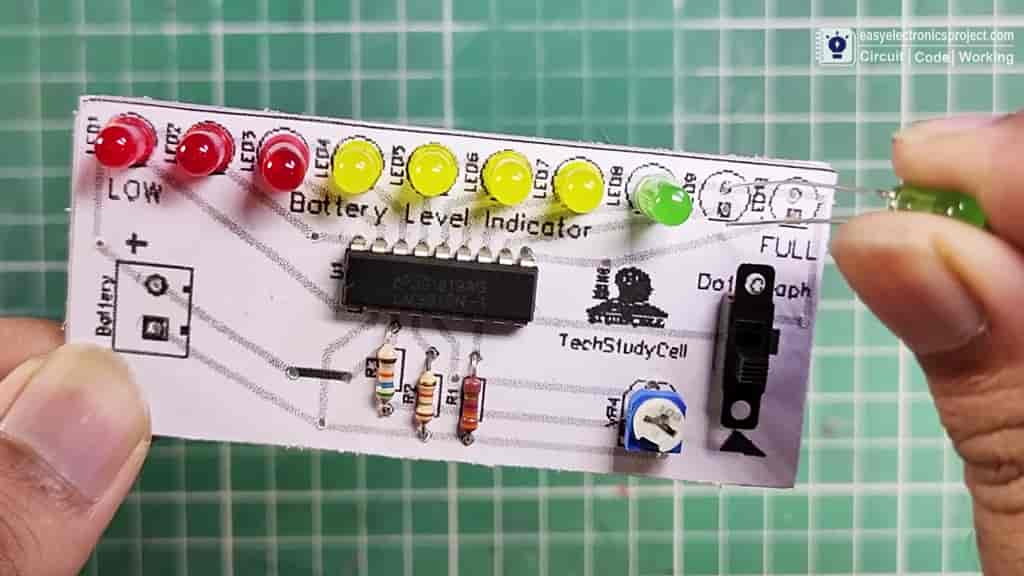
Now, the PCB for level indicator circuit is ready.
Set the MAX voltage level
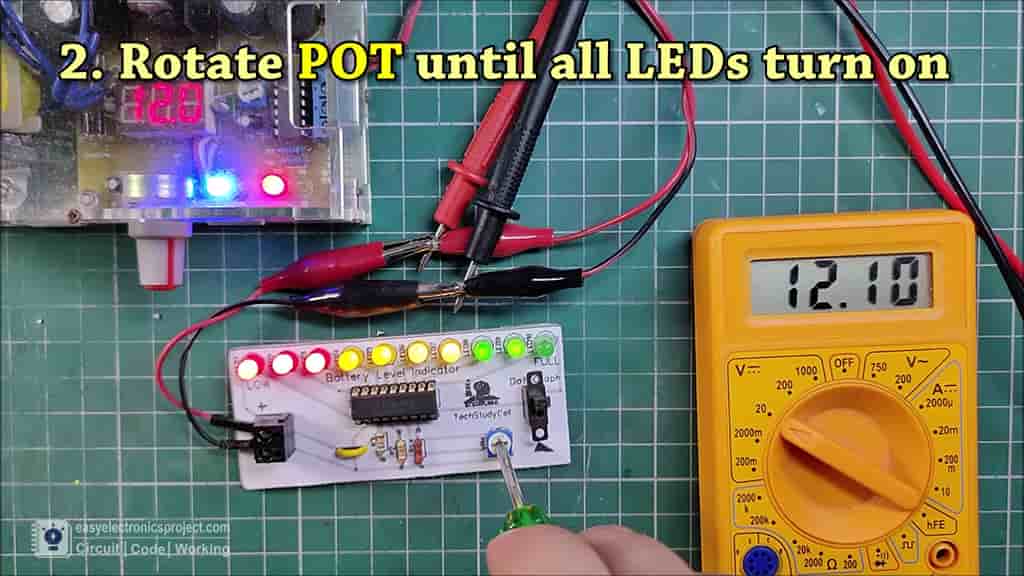
Now to set the indicator for 12 volt battery, first connect 12 volt supply.
Then rotate the potentiometer until all the all the LED turns on.
After that disconnect the power supply.
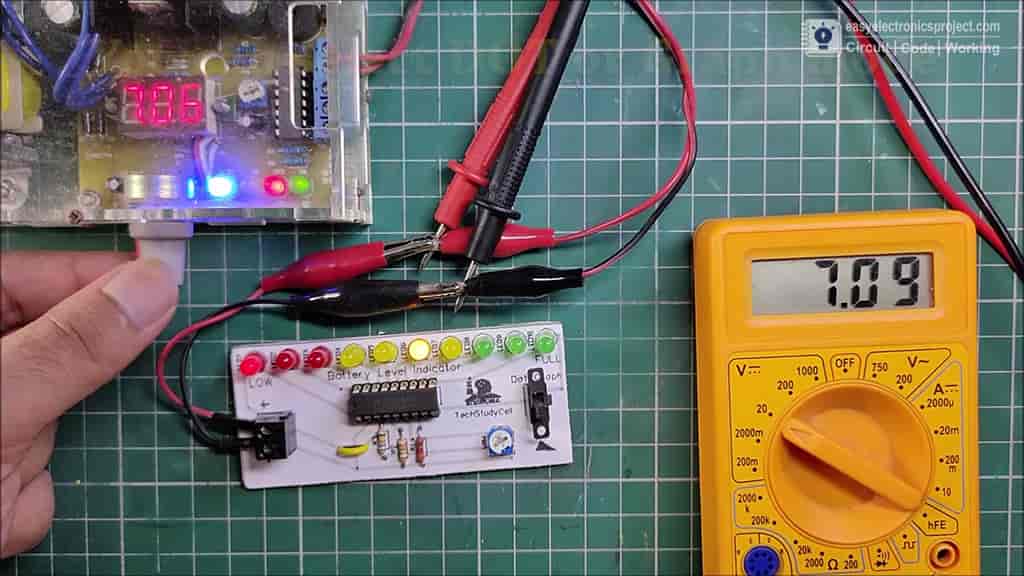
Connect 12V Battery

Connect the 12-volt battery with the indicator circuit.
Now the LEDs will glow as per battery output voltage level. And you can monitor the voltage level of the battery.
Thus you can set any voltage level and use this same circuit for different batteries like 6V battery, 9V battery, 12V Battery, etc.
DOT & Graph Mode
You can monitor the voltage level both in DOT and Graph mode using the S1 switch.
Please share your feedback on this mini-project and also let me know if you have any queries.
You can also subscribe to our newsletter to receive more such useful electronics projects through email.
I hope you have liked this electronics project, Thank you for your time.
