In this article, I have explained how you can easily make DIY homemade PCB for different electronics projects using cardboard or plastic sheet.

In the following steps, I have explained how to make the homemade PCB using a plastic sheet for this mini-project.
Print the PCB Layout
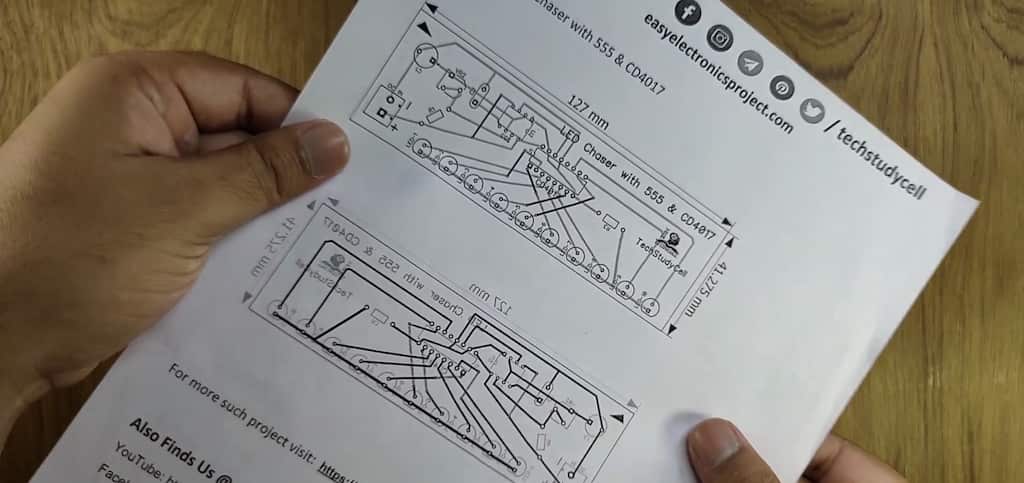
On this website, you will always get the PCB layout for any PCB project. First, you have to download the PCB layout then print it on the A4 page.
While printing please check the PCB dimension mentioned on the PCB layout. (print the .docx file)
Stick the PCB Layout on a plastic sheet
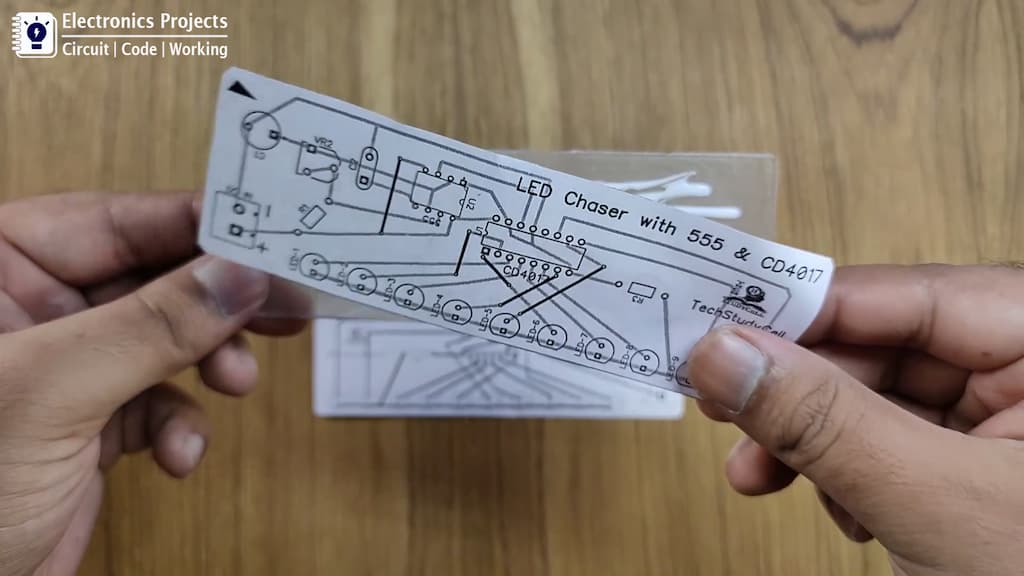
Then stick the layout on a plastic sheet or cardboard with glue.
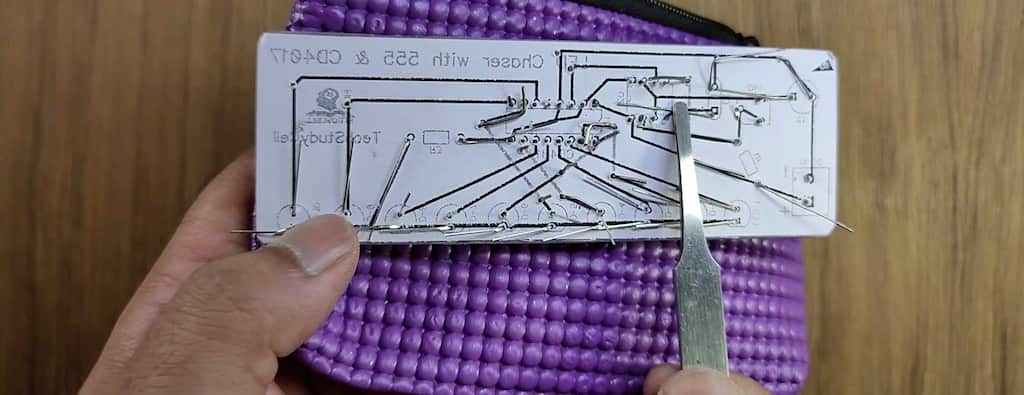
Drill the holes for the components on the PCB
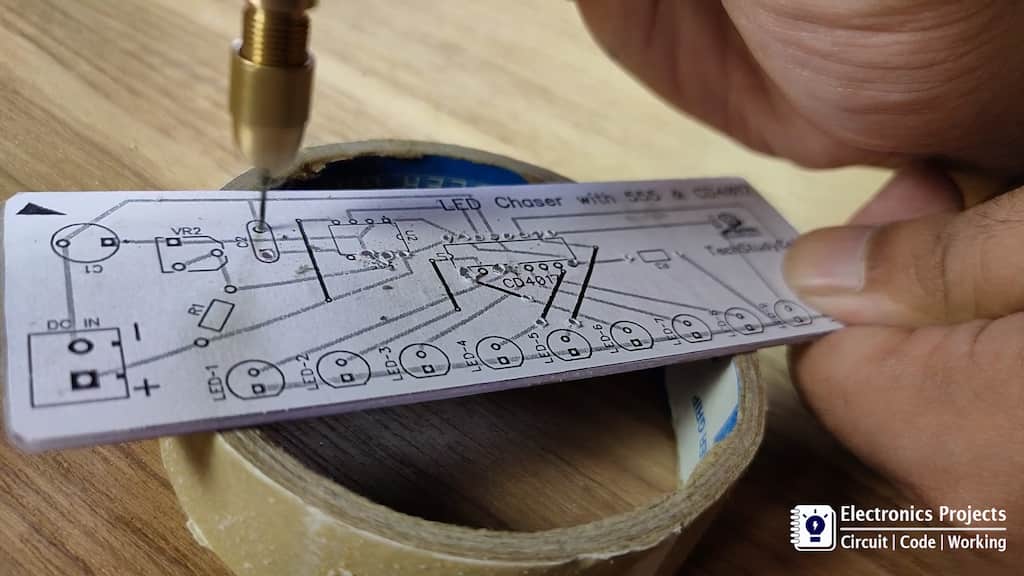
Drill the holes as per the PCB layout for components. Here, I have used a 555 DC motor to drill the holes. You can also use a hand drill for drilling.
Place all the components as shown on the PCB layout
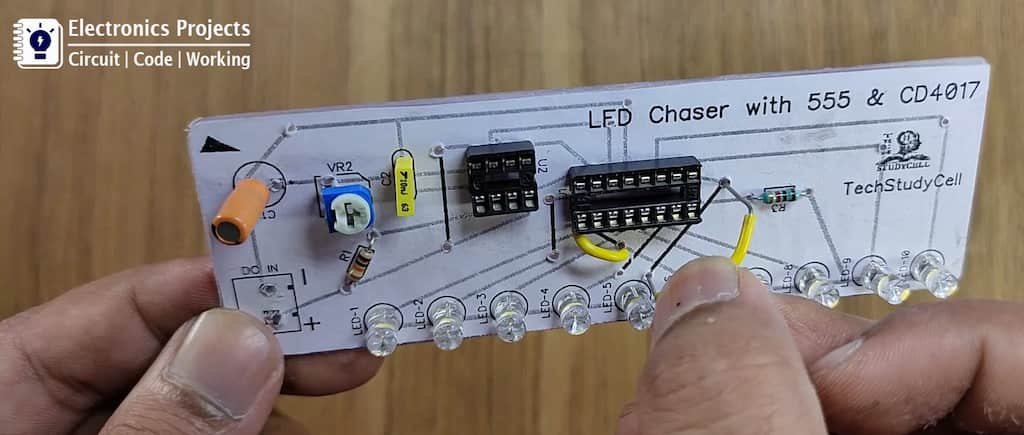
Now, place all the components on the PCB as per the PCB layout. Please take care of the polarity of the transistors, diodes, LEDs, and capacitors.
Connect all the components as per the Layout
I have used extra leads of the components to connect those components as per the PCB layout.
Just follow the layout and connect all the components.
Solder all the components
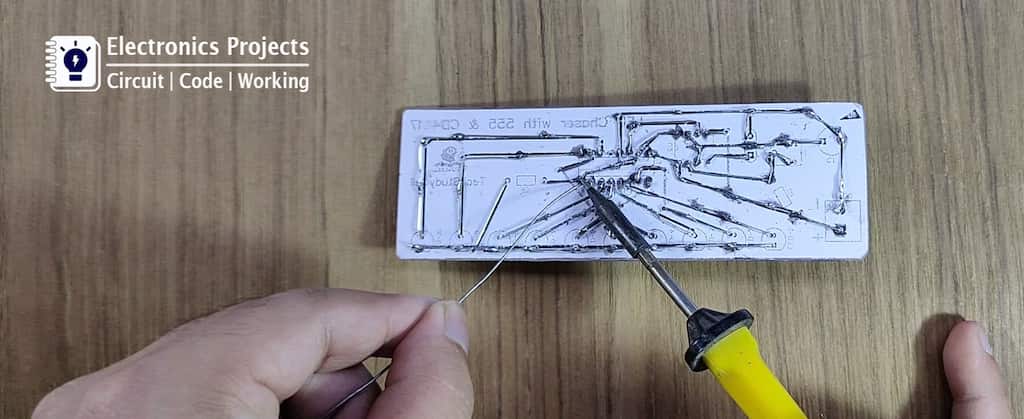
Now, solder all the components.
There should not be any loose connection. So after soldering please check all the joints.
The DIY PCB for the electronics project is ready
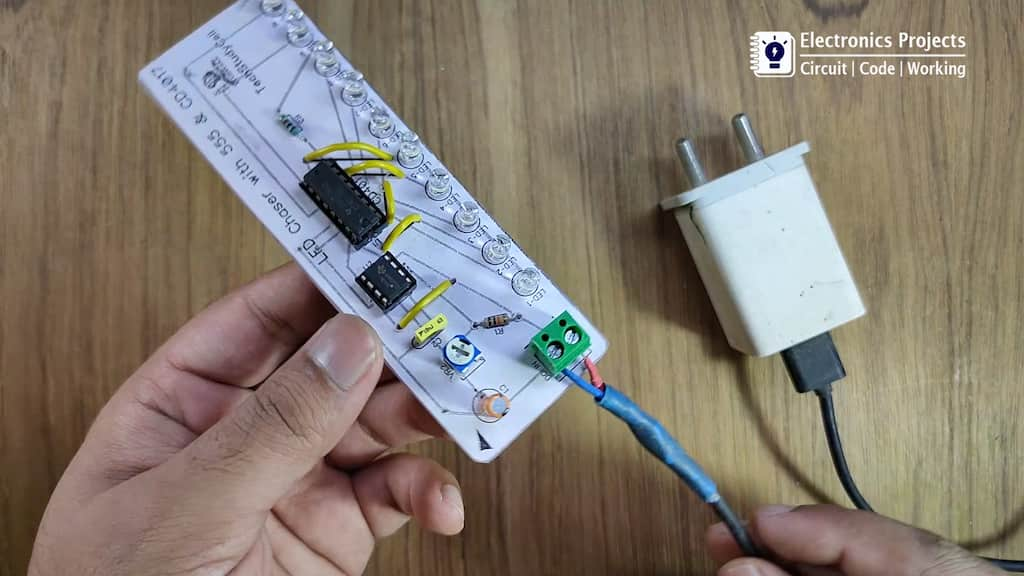
The PCB is now ready. Thus you can easily design and make PCB for any small electronics project.
Explore different mini-projects and also please share your feedback or if you have any queries.
You can also subscribe to our newsletter to receive more such useful electronics projects through email.
I hope you have found this article useful. Thank you for your time.